Have you ever wondered how to clean your record needle? Well, the truth is, that the cleanliness of your stylus can have a significant impact on both the quality of your sound and the longevity of your vinyl records. Vinyl is primarily a mechanical system that extracts sound through a stylus from the grooves of the record. In essence, we ‘listen to these very grooves,’ which means it’s important to preserve their initial integrity, minimize wear, and prevent dust from entering them and reaching the stylus. For example, it’s a good practice to clean your stylus at least twice a month, but there are some more nuances that we’re going to learn in this article.
Factors that influence stylus cleaning frequency
When it comes to maintaining the pristine performance of your stylus, one size doesn’t fit all. Several factors come into play, affecting how often you should clean your stylus. Let’s explore these factors in detail:
Type of records
The condition of the records you play matters. Older or poorly-maintained records may contain more debris, increasing the need for frequent cleaning.
Environmental conditions
The environment in which you listen to your vinyl can significantly impact stylus cleanliness. Dusty rooms, the presence of smoke, or areas with higher humidity levels can lead to quicker accumulation of dirt on the stylus.
Frequency of use
How often you play your records matters. If you’re a frequent listener, your stylus will naturally collect more dust and debris, requiring more regular cleaning.
Stylus type
Different stylus shapes and materials behave differently when it comes to attracting dirt. Some designs are more prone to accumulating grime, necessitating more frequent maintenance.
Understanding these factors is important for establishing an appropriate cleaning schedule for your stylus. Neglecting these considerations could lead to a degraded audio experience and potential damage to your cherished vinyl collection. In the following sections, we’ll delve deeper into the techniques and best practices for effective stylus cleaning, ensuring that your music always sounds its best.
Signs that your stylus needs cleaning
Recognizing when your stylus requires cleaning is important for maintaining optimal sound quality and prolonging the life of your records. Here are some telltale signs to watch out for, both audibly and visually:
Audible signs:
If you notice distortion, crackling, or pops in your audio, it could be a sign of a dirty stylus. Moreover, loss of high-frequency detail and deep bass in your music may indicate stylus buildup. Also, an increase in surface noise, such as clicks and hisses, can be a clear indicator of stylus contamination.
Visual signs:
If you notice any dust or debris clinging to the tip, it’s a clear indicator that it’s due for a thorough cleaning. Additionally, if you observe that the stylus has become discolored or has taken on a yellowish hue, it could be indicative of the accumulation of dirt and dust over time. Furthermore, keep an eye out for any signs of uneven wear on the stylus tip. Uneven wear patterns might signal either improper cleaning practices or excessive use of the stylus.
By keeping an eye (and ear) out for these signs, you can ensure that your stylus remains in top condition, delivering the high-quality sound your vinyl records deserve. In the next section, I’ll explore effective methods for cleaning your stylus and restoring your audio experience.
How to clean your stylus
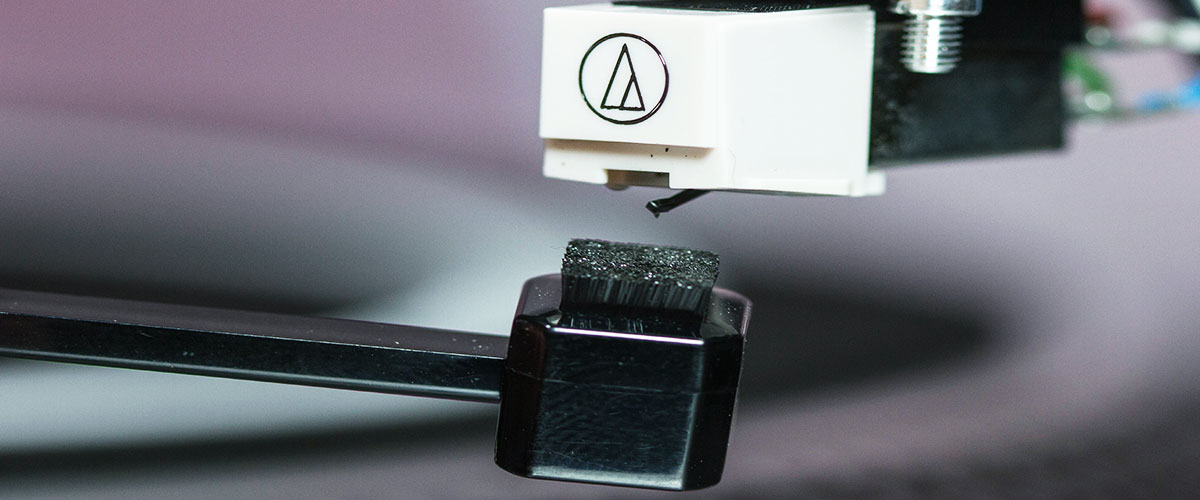
Ensuring your stylus remains in pristine condition is important for maintaining the quality of your vinyl playback. To clean your stylus safely and effectively, it’s essential to use methods that minimize the risk of damage. Here are some recommended tools and techniques:
- Brushes
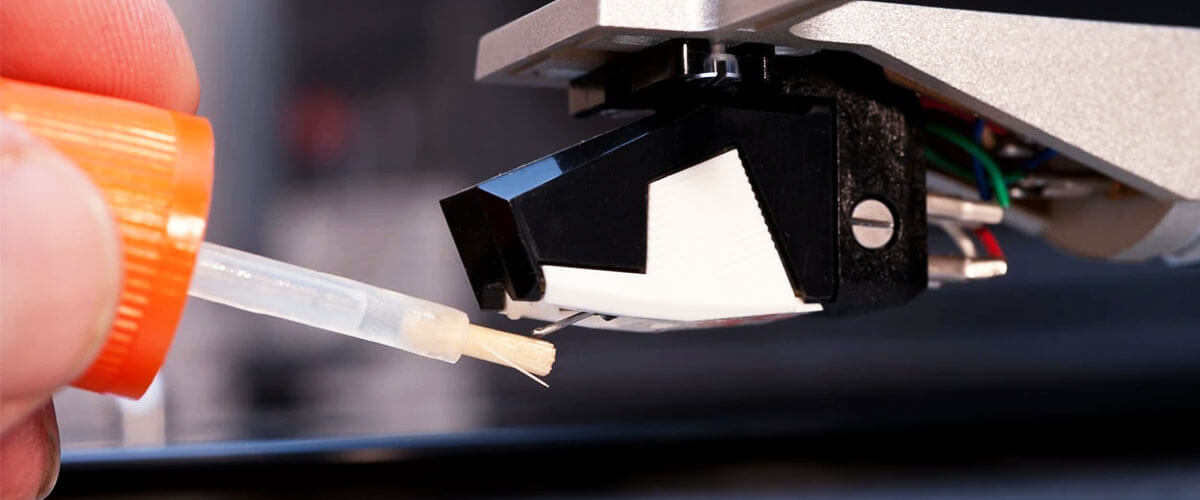
Stylus cleaning brushes are gentle yet effective. These specialized brushes have ultra-fine bristles that can dislodge dust and debris without harming the delicate stylus. To use, lightly touch the brush to the stylus tip, gently sweeping from back to front. Ensure you follow the manufacturer’s instructions for your specific brush. -
Cleaning solutions
There are stylus cleaning solutions designed explicitly for this purpose. These stylus cleaners are typically alcohol-free and safe for stylus cleaning. Apply a small amount to a stylus brush or cleaning tool, then carefully brush the stylus tip. Make sure your turntable is turned off and not spinning while doing this. -
Cleaning gels
Stylus cleaning gels are a convenient option. They’re a soft, sticky substance that you gently press the stylus tip into, allowing it to remove dirt and dust effectively. Follow the product instructions for the best results.
Remember to exercise caution when cleaning your stylus:
Never touch the stylus with your fingers, as the oils and residues from your skin can harm the delicate stylus tip. And don’t forget to refrain from using alcohol-containing cleaning solutions, as they can damage the stylus and the cartridge.
Regular stylus cleaning should become a routine part of your vinyl listening experience. By following these safe cleaning methods, you can ensure your stylus remains in top-notch condition and enjoy the best possible sound quality from your vinyl records.
Additional maintenance tips for a healthy turntable system
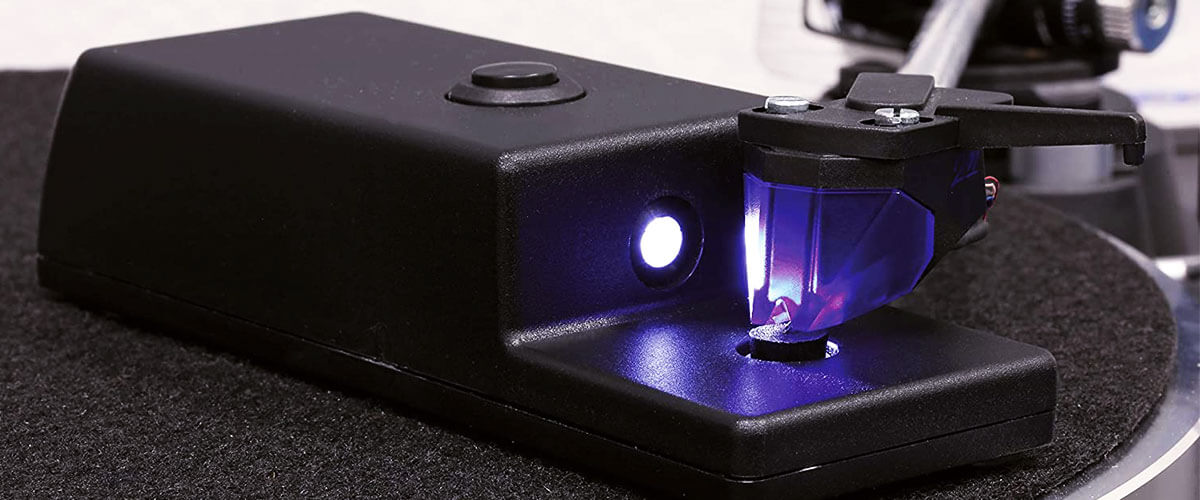
Maintaining a clean stylus is important, but there are additional steps you can take to ensure your entire turntable system remains in top-notch condition:
- Record cleaning
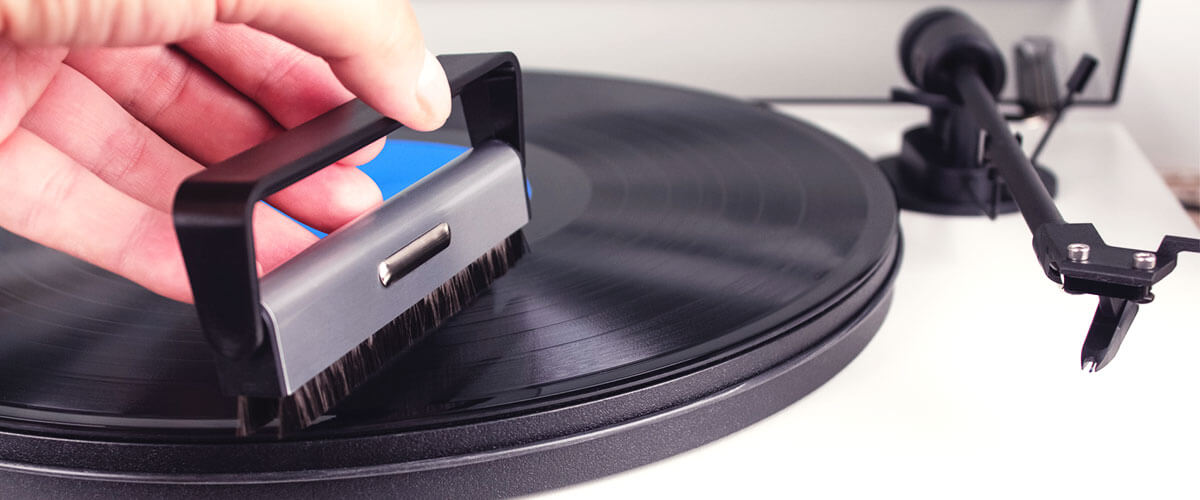
Clean your vinyl records regularly to prevent them from depositing dirt and debris onto your stylus. Use a high-quality record brush, an anti-static brush, or a record-cleaning machine to remove dust and grime from your records’ surfaces. Clean records not only enhance sound quality but also contribute to a longer stylus life. - Proper storage
Store your records in a clean, dust-free environment, and always keep them in their protective sleeves when not in use. Avoid stacking records horizontally, as this can lead to warping and damage. - Regular inspection
Periodically inspect your turntable system for any signs of wear or damage. Check the tonearm for correct alignment, and ensure the cartridge and head shell are securely fastened. Inspect the stylus under good lighting to spot any visible debris or damage.
By incorporating these additional maintenance practices into your vinyl listening routine, you can prolong the life of your turntable system, enjoy cleaner sound, and preserve your cherished vinyl collection for years to come. A well-maintained turntable system not only delivers exceptional audio quality but also ensures your investment continues to provide musical enjoyment.
FAQ
How long does a typical stylus last with proper care?
With proper care and maintenance, a typical stylus can last anywhere from 1,000 to 2,000 hours of playing time. This lifespan may vary depending on factors such as the quality of the stylus, the condition of the records, and the precision of setup.
Are there any risks involved in cleaning the stylus?
Cleaning the turntable stylus is generally safe if done correctly using appropriate tools and solutions. However, mishandling or using harsh chemicals can damage the stylus. Always exercise caution and follow recommended cleaning methods to avoid risks.
How do audiophiles maintain their stylus for optimal sound?
Audiophiles maintain their stylus by cleaning it regularly with soft brushes, specialized solutions, or cleaning gels. They also keep their records clean, store them properly, and conduct regular inspections to ensure the entire turntable system is in excellent condition. These practices contribute to optimal sound quality and the longevity of the stylus.

