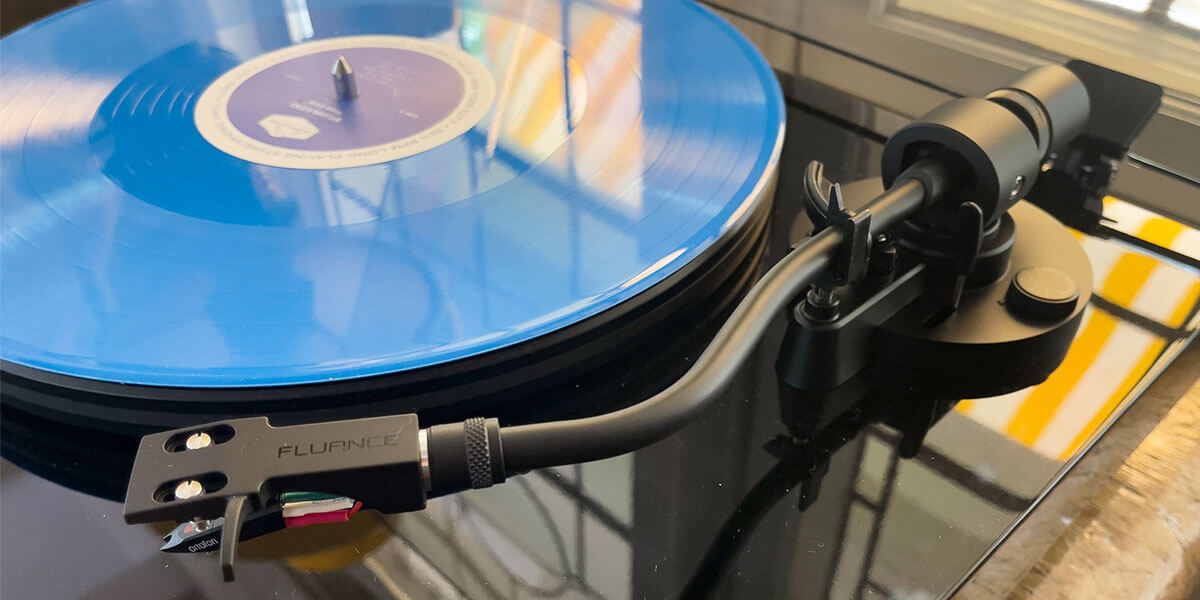
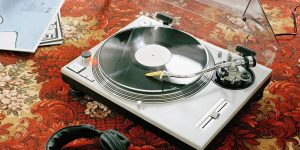
Are you wondering when to replace your record needle? If you’re an avid vinyl enthusiast, you know that the quality of your turntable’s sound can make better or break your listening experience. Over time, factors like wear and tear can lead to a noticeable decline in audio quality – from diminished sound clarity to increased background noise. When you start to notice these factors affecting your music enjoyment, it’s time to take a closer look at your stylus under a magnifying glass. If you spot signs of wear and tear, it’s a clear signal that you should replace the needle. However, if there are no visible signs of wear, a good cleaning might do the trick. In this article, I’ll share the key signs that indicate it’s time to change your turntable needle.
The lifespan of a record needle
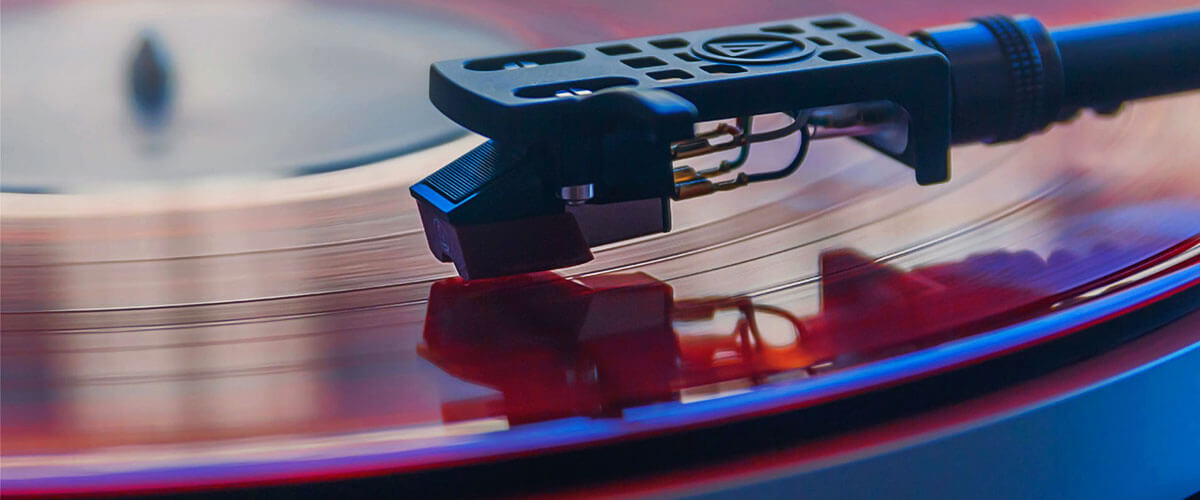
The lifespan of a record needle can vary widely based on several factors, including:
Needle material
The type of material the needle is made from significantly impacts its durability. Diamonds and sapphires tend to have a longer lifespan compared to less robust materials like ceramic or steel.
Record cleanliness
Dust, dirt, and debris on vinyl records can accelerate needle wear. Regularly cleaning your records and ensuring they’re free from contaminants can extend the needle’s life.
Proper handling
Mishandling the turntable or dropping the tonearm can lead to premature needle damage. Always handle your equipment with care.
Frequency of use
If you’re a frequent listener, your needle may wear out sooner than someone who plays records less often. High usage requires more frequent replacement.
The risks of using a worn-out needle
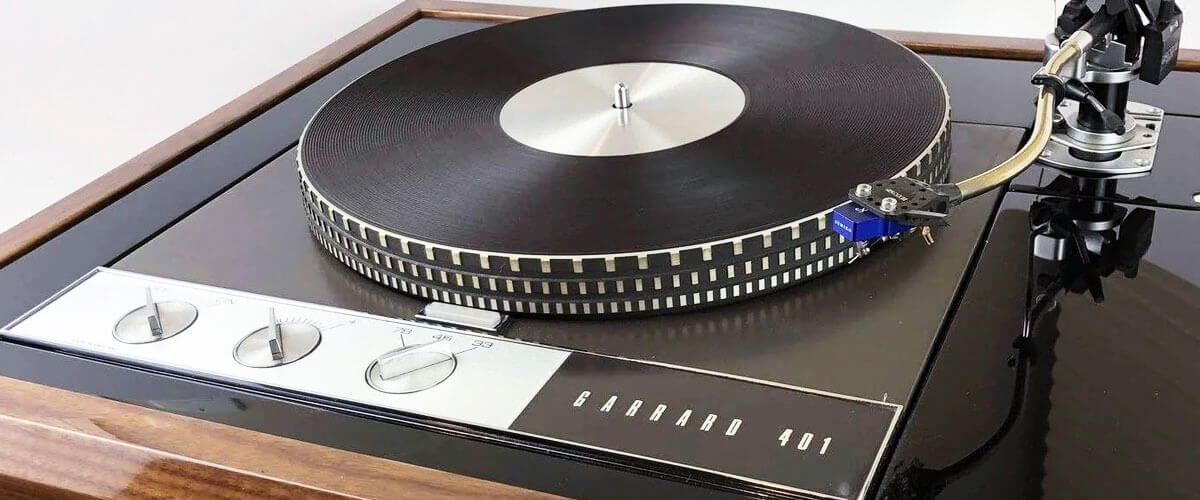
Using a worn-out needle poses significant risks to both your vinyl records and turntable. The question “How to tell when a record needle is worn” becomes important knowledge in this context. A damaged needle can leave permanent grooves and scratches on your precious records, diminishing their audio quality and value. Additionally, a worn needle can place undue stress on the delicate grooves of the records, potentially causing them to skip or jump during playback.
Factors to consider when replacing the record needle
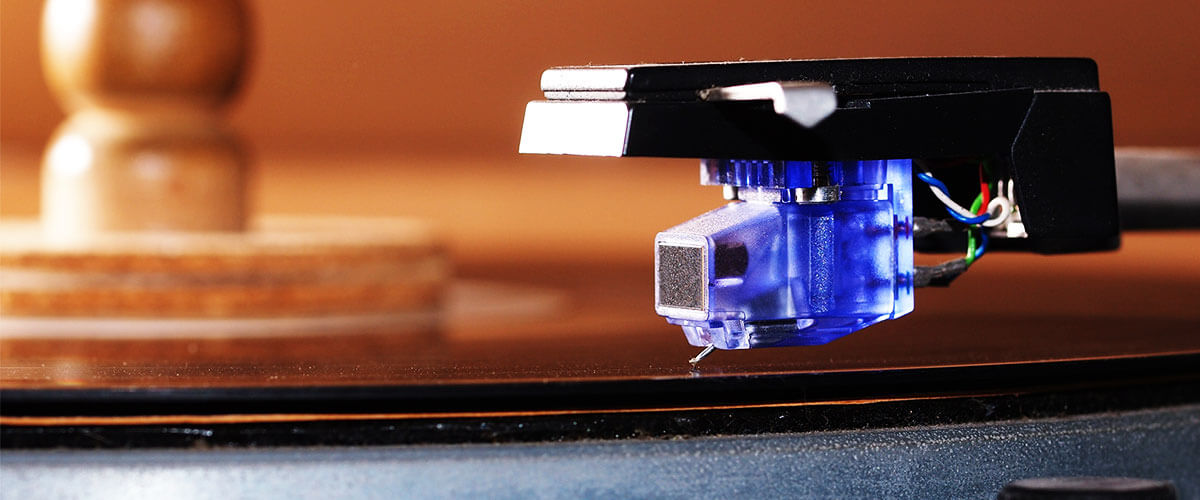
When it comes to replacing your record needle, there are several key factors to consider to ensure you get the best performance and longevity:
Needle material
Diamond needles are known for their durability and are commonly found in higher-end cartridge models. They offer excellent tracking and produce high-quality sound. Also, there are sapphire needles are often found in older or budget-friendly turntable models. While they are more affordable, they tend to wear out faster than diamond needles, and their sound quality may not be as impressive.
Stylus shape
Conical: Conical styluses are the standard shape found in many entry-level cartridges. They are suitable for general use but may not provide the highest level of precision in tracking. On the other hand, elliptical styluses offer more precise tracking and better sound quality due to their shape. However, they require proper alignment to prevent excessive wear and tear on your records.
Compatibility
Ensure that the replacement needle is compatible with both the cartridge and the turntable. Check the manufacturer’s recommendations and specifications to find the right match.
Turntable usage
Consider your turntable usage. If you’re a casual listener, a budget-friendly needle may suffice. However, if you’re an audiophile or play your records frequently, investing in a higher-quality needle can prolong the life of your records and enhance your listening experience.
Budget
Your budget plays a role in your choice. While high-end needles can deliver superior performance, there are cost-effective options available that still offer decent sound quality.
How to replace your record needle
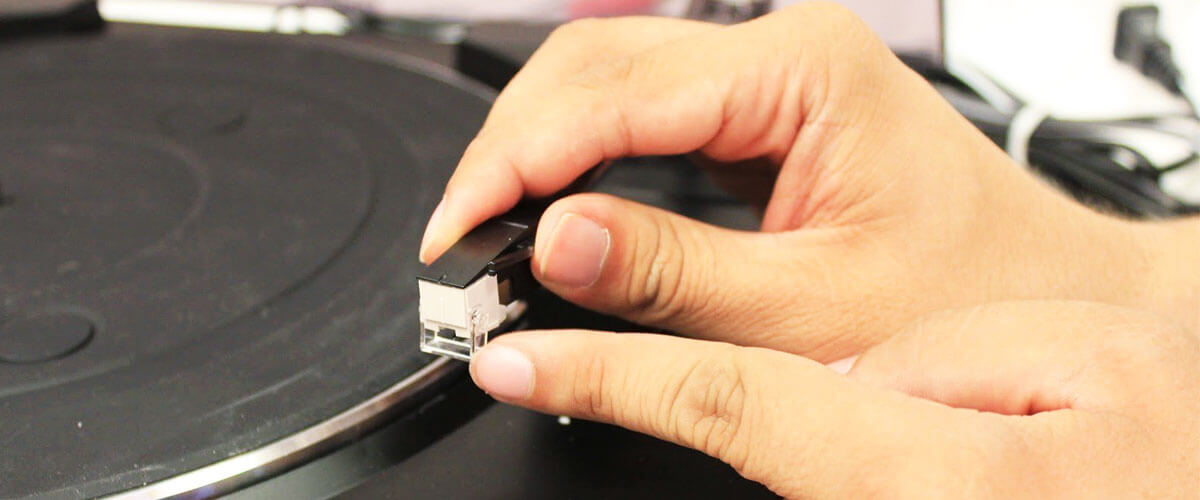
Replacing your record needle is a relatively straightforward process, but it’s important to follow proper steps and take safety precautions to avoid damaging your equipment or records. Here’s a step-by-step guide on how to replace the needle on the record player along with safety precautions and the tools or kits you may need:
Step-by-step guide:
- Ensure your turntable is turned off and unplugged to prevent accidental damage or injury.
- Gently lift the tonearm from its rest and locate the old needle. Depending on your turntable model, you may need to unscrew or release the old needle cartridge. Be careful not to apply excessive force.
- Before inserting the new needle, take a moment to clean the tonearm and cartridge area. Remove any dust or debris using a soft brush or anti-static brush.
- Carefully align the new needle or stylus with the cartridge slot. Ensure it’s securely in place and properly aligned. Refer to your turntable’s user manual for specific instructions, as installation methods can vary.
- Depending on your turntable, you may need to adjust the counterbalance and tracking force settings to accommodate the new needle. Consult your turntable’s manual for guidance on these adjustments.
- Before playing any records, perform a test run without a record to ensure that the new needle is tracking properly and producing sound without distortion or skipping.
- Once you’ve confirmed that the new needle is working correctly, you can now enjoy your vinyl records with improved sound quality.
Safety precautions:
First and foremost, handle the needle with the utmost care to prevent any bending or damage during maintenance. Another important point is to avoid direct contact with the needle tip using your fingers. Oils and dirt from your skin can negatively impact playback quality and potentially harm the stylus. Additionally, maintain a stable and level position for both the turntable and the tonearm during the replacement process.
Tools and kits:
Be sure you have a replacement needle or stylus that matches your cartridge and turntable model, as compatibility is important for optimal performance. Additionally, have a soft brush or anti-static brush on hand for effective cleaning. Depending on your specific turntable model, refer to the user manual for precise instructions, and if required, consider having a headshell alignment protractor and tracking force gauge available for more advanced adjustments.
Tips for extending the life of your needle
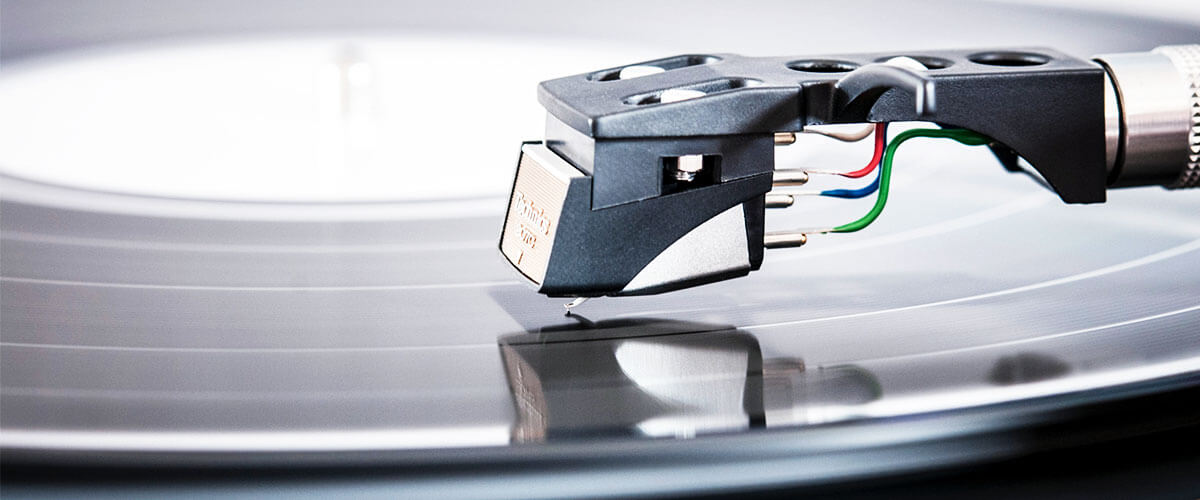
To extend the life of your record needle, consider these practical tips:
- Ensure your turntable is properly calibrated to avoid excessive tracking force, which can prematurely wear out the needle;
- Don’t play records with visible scratches or damage, as this can accelerate needle wear;
- Use a carbon fiber brush to gently clean your records before each play, reducing the risk of dust and debris accumulating on the needle.
FAQ
Is it okay to touch the needle with my fingers?
It’s strongly recommended not to touch the needle with your fingers. The oils and dirt from your skin can transfer onto the needle, affecting its performance and sound quality. Always handle the needle with care, using tools or the provided stylus guard to avoid direct contact.
How often should I clean my needle?
Regular cleaning of your record needle is important to maintain optimal playback quality. Cleaning frequency can vary based on usage and environmental conditions. A good rule of thumb is to clean it before every play or whenever you notice a decline in sound quality.
Can I replace the needle myself, or should I get professional help?
Many turntable enthusiasts can replace the needle themselves, especially if they follow the manufacturer’s instructions and use proper tools. However, if you’re unsure or uncomfortable with the process, it’s advisable to seek professional help to ensure a correct and safe replacement.
Do all needles fit all turntables?
No, not all needles are universally compatible with all turntables. The compatibility depends on factors like the cartridge type, tonearm, and turntable model. It’s crucial to choose a replacement needle that matches your specific turntable’s requirements. Refer to your turntable’s manual or consult with a knowledgeable professional to find the right needle for your setup.

